How to Create a Microsoft Bookings Page in Microsoft 365
Microsoft Bookings is a versatile scheduling tool within Microsoft 365, enabling businesses to manage appointments efficiently. This guide will walk you through the process of setting up a new Bookings page, making it easy for you to manage services, staff, and customer appointments.
Note: Most of the images contained within this article are gifs. Click them to understand how Microsoft To dos work better.
- How to Reach the Bookings App
- In Microsoft 365, click on the App Launcher (the nine-dot grid) in the top left corner.
- Select Bookings from the list of apps. If you don’t see it, you may need to search for it using the search bar.
- Creating the New Bookings Page
- Start by clicking on New Booking Page.
- Name your page, upload a logo if desired, and select the type of business (e.g., healthcare, consulting).
- Set your business hours by defining the days and times your services will be available.
- Invite staff members by clicking on Add Staff. You can assign roles, such as administrator or viewer, and include their contact details.
- Under the Services section, click on Add Service
- Enter the service name, choose the duration, and set the weekly schedule.
- You can also define specific service slots, like 30-minute or 1-hour intervals, depending on your business needs.
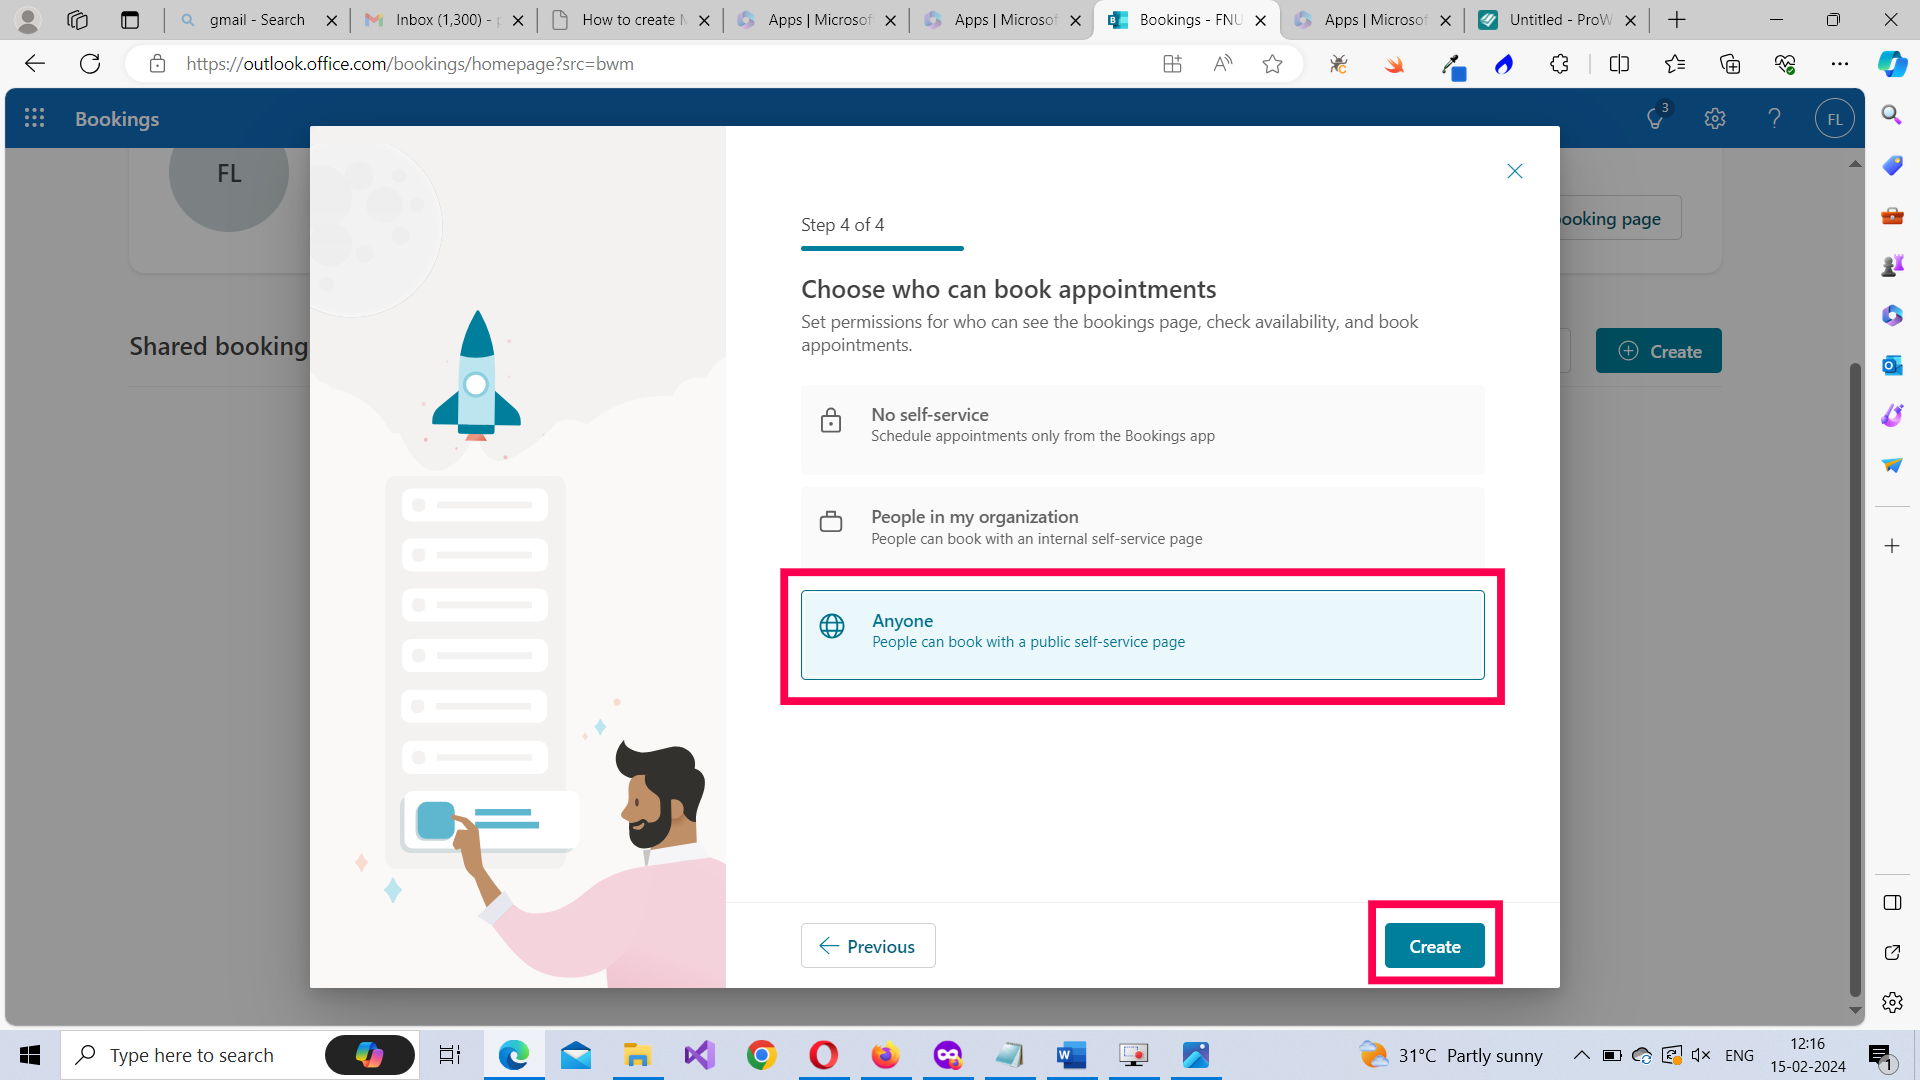
- Choose who can book appointments by selecting from the following options
- No self-service: Only admins can book.
- People in my organization: Only employees within your company can book.
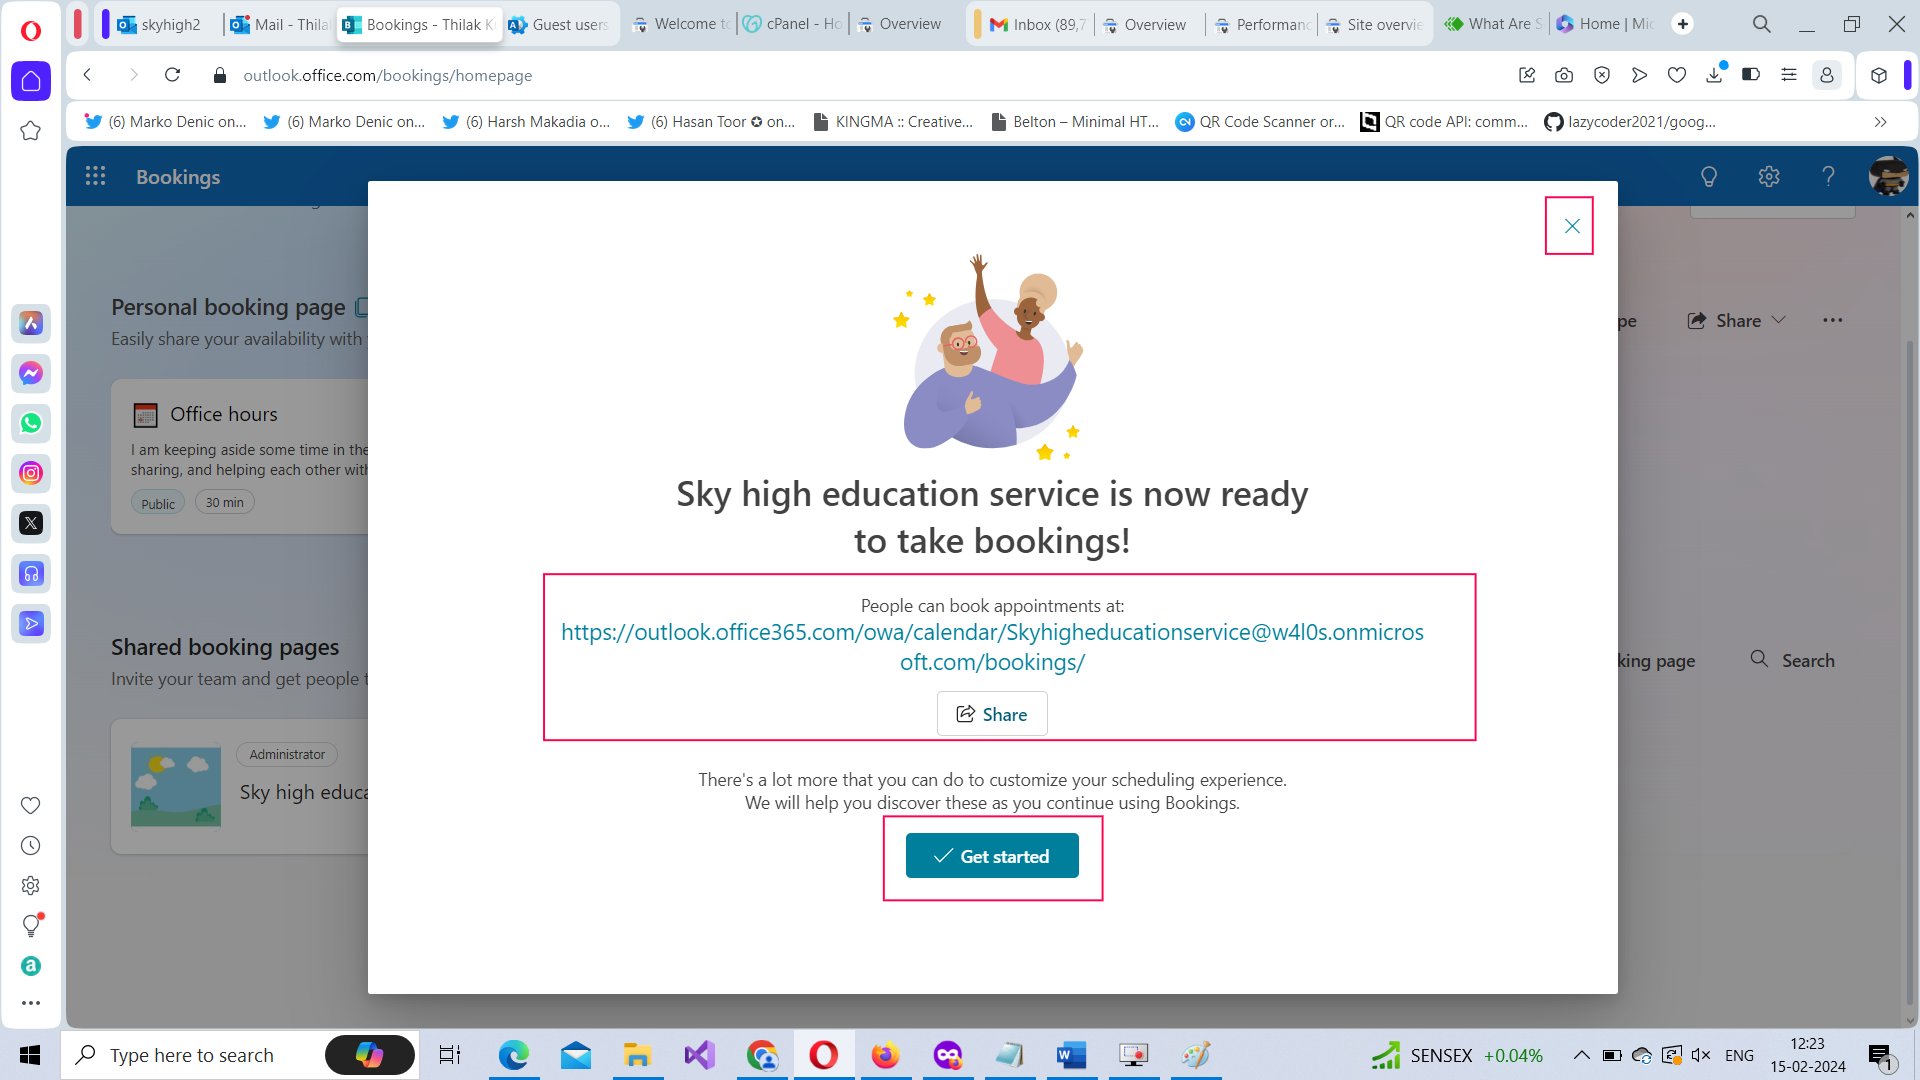
- Anyone: Anyone with the link can book an appointment.
Using App Launcher Ribbon

Naming the Page, Adding Logo, Selecting Business Type and Hours

Invite Staff

Set Up Service Timings

Select Who Can Book Appointments
🚀 Community Edition Released!
Try the M365Corner Microsoft 365 Reporting Tool — your DIY pack with 20+ out-of-the-box M365 reports for Users, Groups, and Teams.